Getting Started
Getting Started
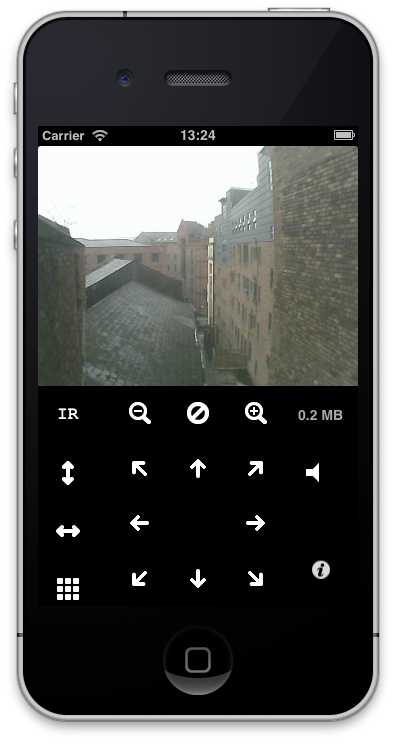
CamViewer is a great way to connect to one or more IP cameras from your iOS device. I have two Tenvis cameras and six Foscam devices all of which work well with the app (Tenvis JPT3815 & iProbot 3, and Foscam FI8908, FI8918, FI9821W).
Users have reported that many other similar cameras work by brands such as Storage Options, Apexis, Instar, Hootoo, ebode IP Vision, Watchbot and Wanscam. See a more complete list of Supported Cameras here.
Connecting your camera to the internet
This page assumes that you have already got your camera up and running, if that is not the case, take a look at the Networking page.
Setting up your first camera
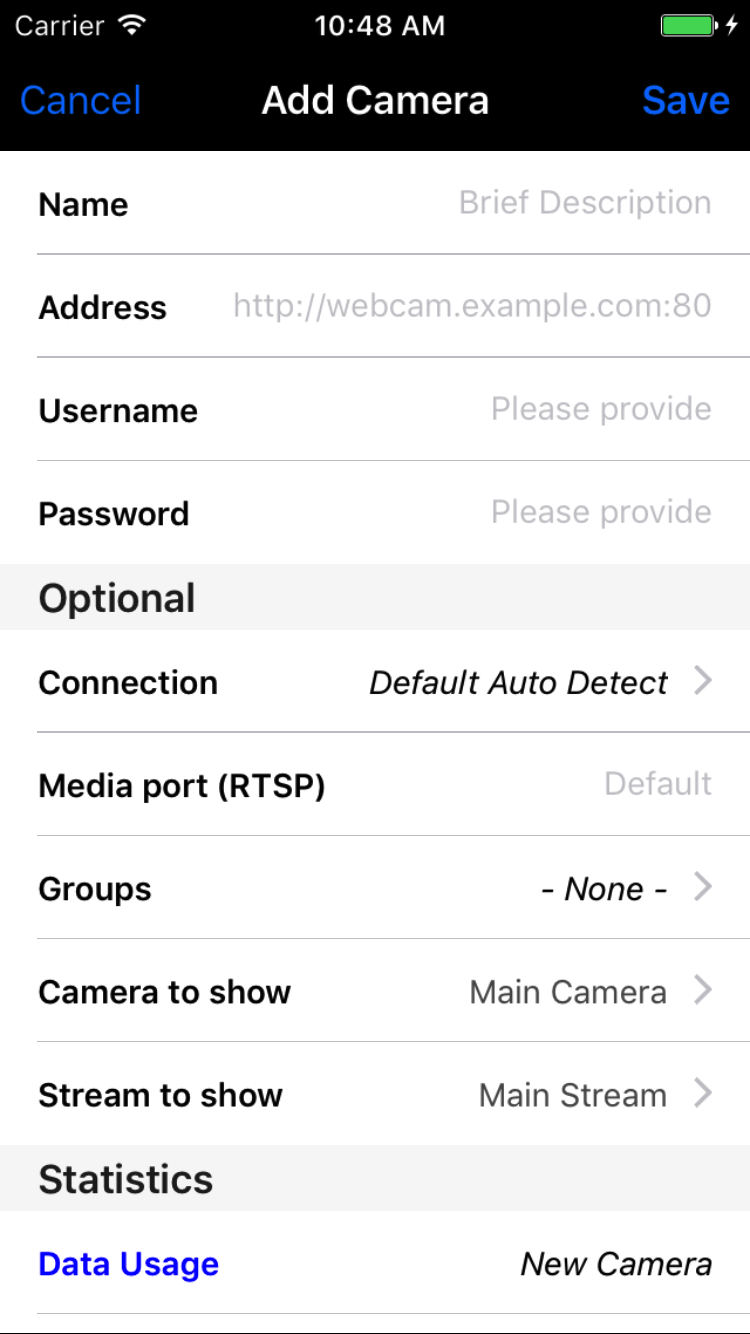 When you first launch the app you will see the “Add Camera” screen. You will need to enter the information for your webcam, the app will then save this information for future use. You need to enter the following details:
- Name: This is just a name that you give to your camera, it’s not important for connecting but is useful for you to tell between your cameras. Perhaps you will have “Work” and “Home”, or maybe “Conservatory”, “Garden” and “Garage”.
- Address: This is the web address, or URL, that you would use to access your camera. Including the
http://is optional and you can also give a port number following a colon. Generally you will not need to enter a path or filename but if you are using advanced features such as a reverse proxy, or linking directly to an image the app will try to detect what you’re doing and work accordingly. - Username: This is the username for accessing the camera, usually this will be admin. This is a required field, in some situations you may not need a username, simply put some dummy text here in those situations.
- Password: This is the password for accessing the camera, the default for many cameras is to have a blank password. If you have set the password for your camera then enter it here. Some symbols can cause problems with the cameras so if you’re having problems and you have symbols such as
+or&then you might want to take those out of your password (which you will need to change on the camera itself as well). - Connection: This specifies how the app connects to your camera. The default choice should work in most circumstances and will use the custom API that many IP webcams support which enables audio features too. The app will try to detect when this won’t work and will then try a different mode. The different modes are described as follows:
- Default (Audio Capable): The camera will attempt to use the custom API that supports audio, it will also try to detect when this will not work and switch to one of the other modes.
- Proxy Safer (No Audio): This mode does not use the custom API and so does not support audio. As it uses the standard HTTP protocol it should be more reliable when working with proxy servers, including transparent proxy servers that you may get on 3G and other mobile or cell networks.
- Basic Image (No Audio): This mode allows you to simply give the app a link to an image and have it load that image. The app will repeatedly load the image and display it to you. It supports HTTP authentication. Remember that the Default mode will generally detect if you link directly to an image and will use this mode automatically
- Special 2-way Audio API: This forces the app to use the special 2-way audio API supported by many IP webcams, use this if you’re sure your camera should work but it is not being detected.
- RTSP Over TCP Video Stream: If you know your camera supports RTSP but the app isn’t detecting it, you can try using this setting although it should generally not be necessary. If you enter a URL for your camera beginning
rtsp://then this connection type will be used automatically.
- Media Port: If your camera supports RTSP over a different port then you can try entering it here. You may find that CamViewer works better using the same port as for HTTP requests though, in which case you would leave this field blank.
- Groups: Version 1.9.9 introduced the concept of groups. This is most useful if you have many cameras and want to group them together, e.g. “Home” and “Work”.
- Camera to show: If you are using a DVR system that has multiple cameras on the same URL then you may try modifying this setting to access other cameras. This is only supported with a small number of cameras.
- Stream to show: If your camera provides multiple streams, e.g. one in HD RTSP format and another in lower quality MJPG format you can try using this setting to switch between them. This can work well if the app struggles with your full quality stream.
- Statistics: The statistics section shows information about the camera. On a new camera this is not very interesting but once you have viewed your camera a few times it will update to show the total data usage and the last time that you connected to the camera. Each of these can be reset by simply tapping on the row and confirming the alert box that is shown (for instance you could reset the data usage at the beginning of each month).
- Data Usage: This is the total data usage for this camera including every time that you have viewed it. It is only intended as a guide as it only shows the data used for audio and video, not the data for the controls requests. To reset this tap on the row and confirm the alert box that is displayed.
- Last Accessed: This shows the date of the last successful connection to the camera by the app. This is useful for debugging and is sent to John McKerrell if you report a problem.